

I’m back this week with another update from the basement. You can see the first update here in case you missed it last week.
The painter started working last week on the ceiling niches, and prepared the walls and ceiling niche for plastering.
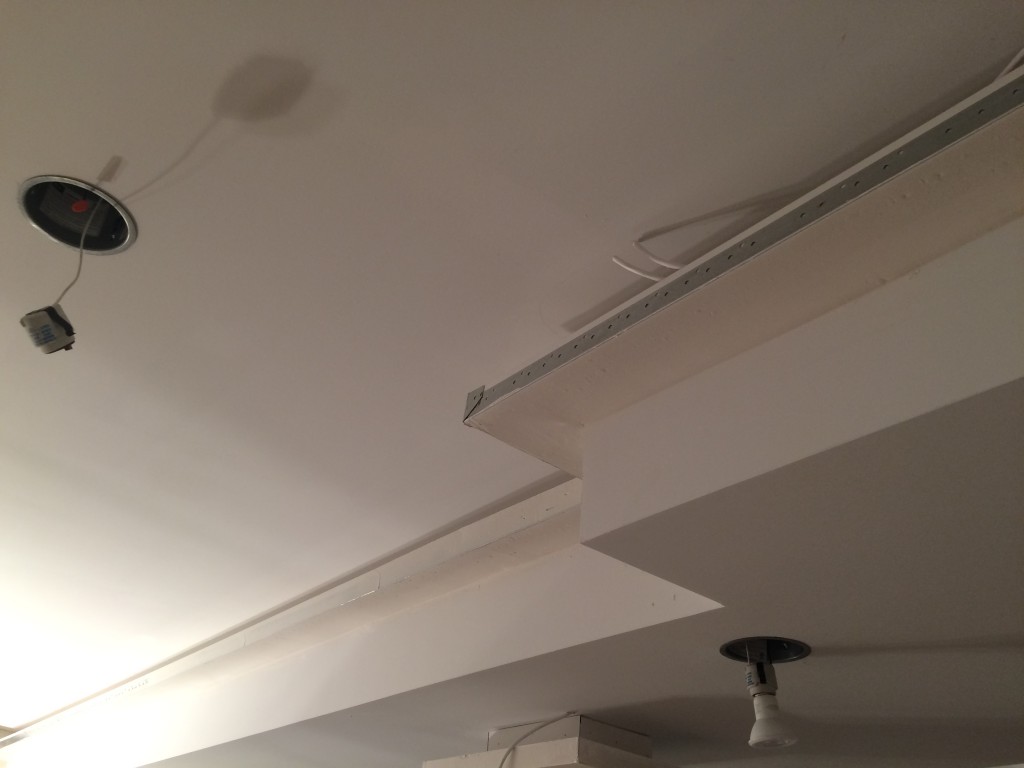
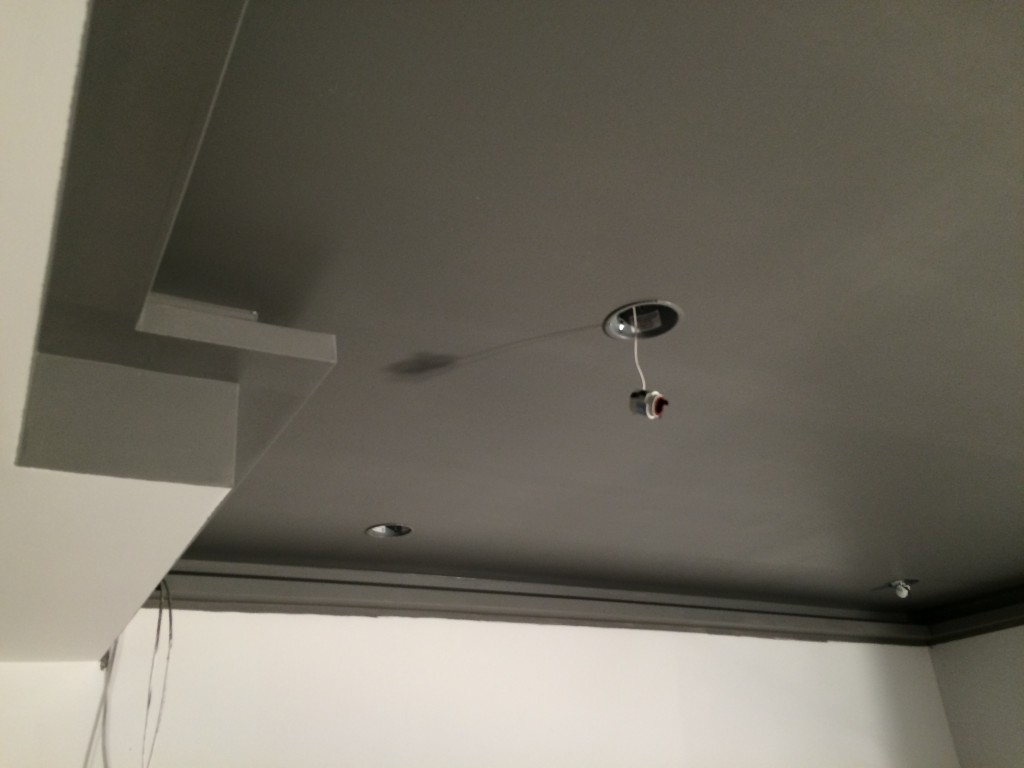
The ceiling painted…
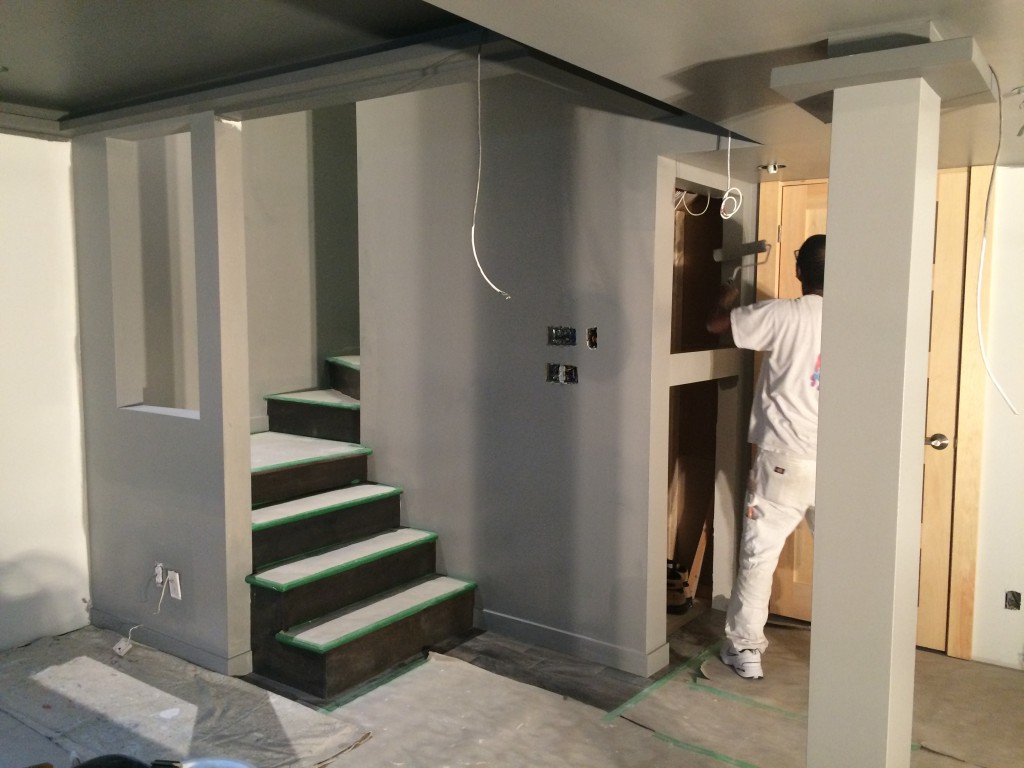
The entrance and the rest of the room has been painted as well.
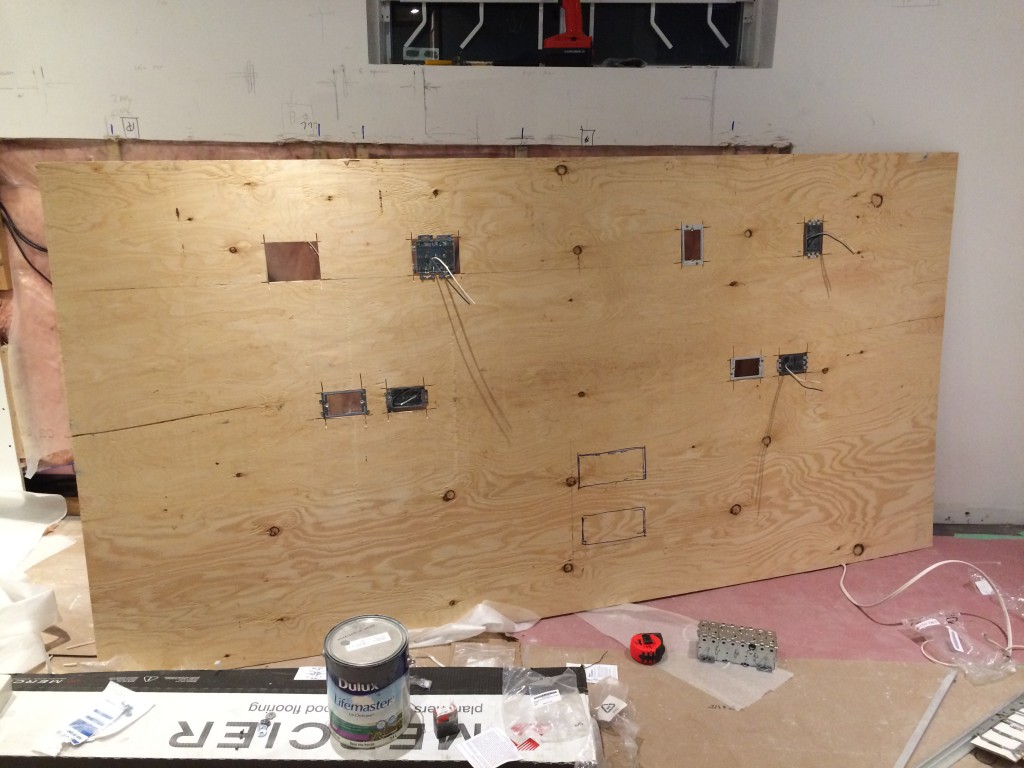
Meanwhile, we passed some wires through the wall for the workstation. There are lots and lots of wires going through the walls, USB cables, Firewire, DisplayPort, DVI, HDMI … you name it.
This will keep things super tidy and there won’t be any wires cluttering the work space.
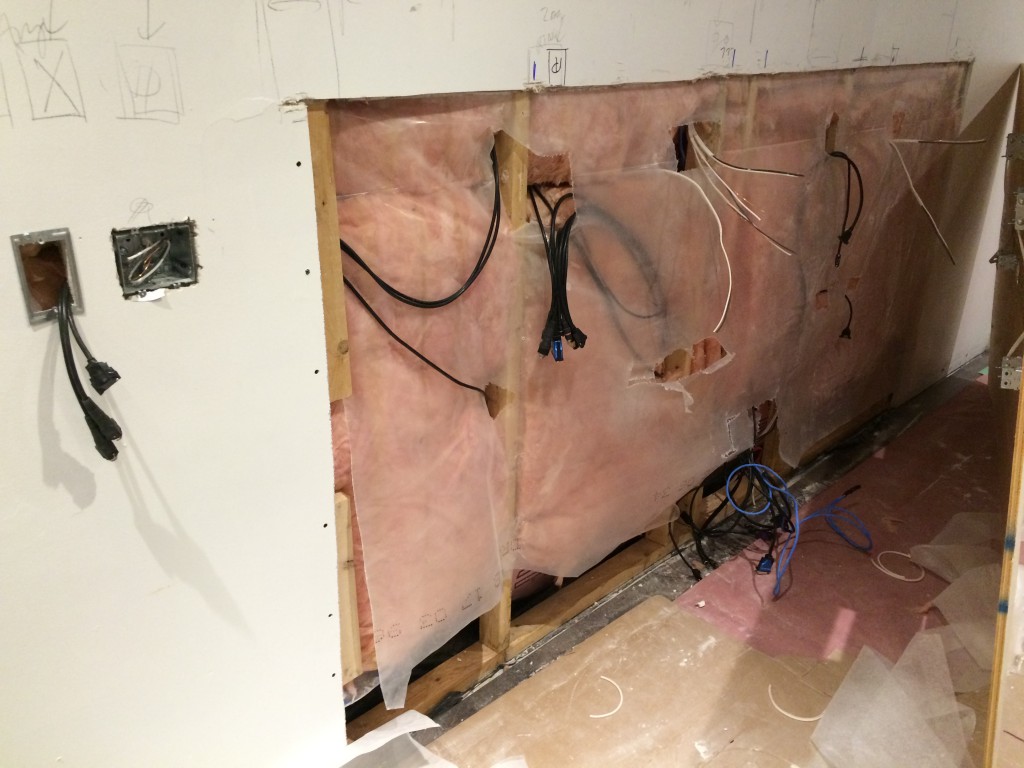
I prepared the openings for the electrician on this plywood, we decided to use plywood instead of regular drywall to help support all the devices that are going to be wall-mounted. Yes, even the monitors will be wall mounted to maximize the space being used by the monitor stands.
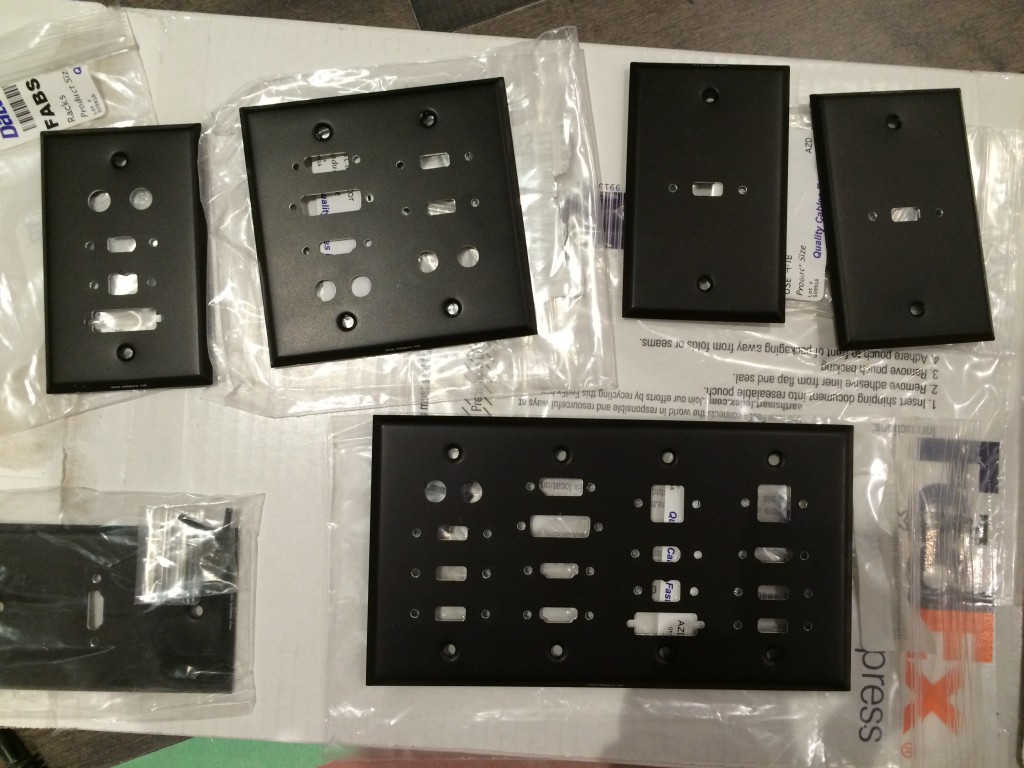
Here are all the custom wall-plates that cost me a small fortune to order. But I’m excited to see them mounted.
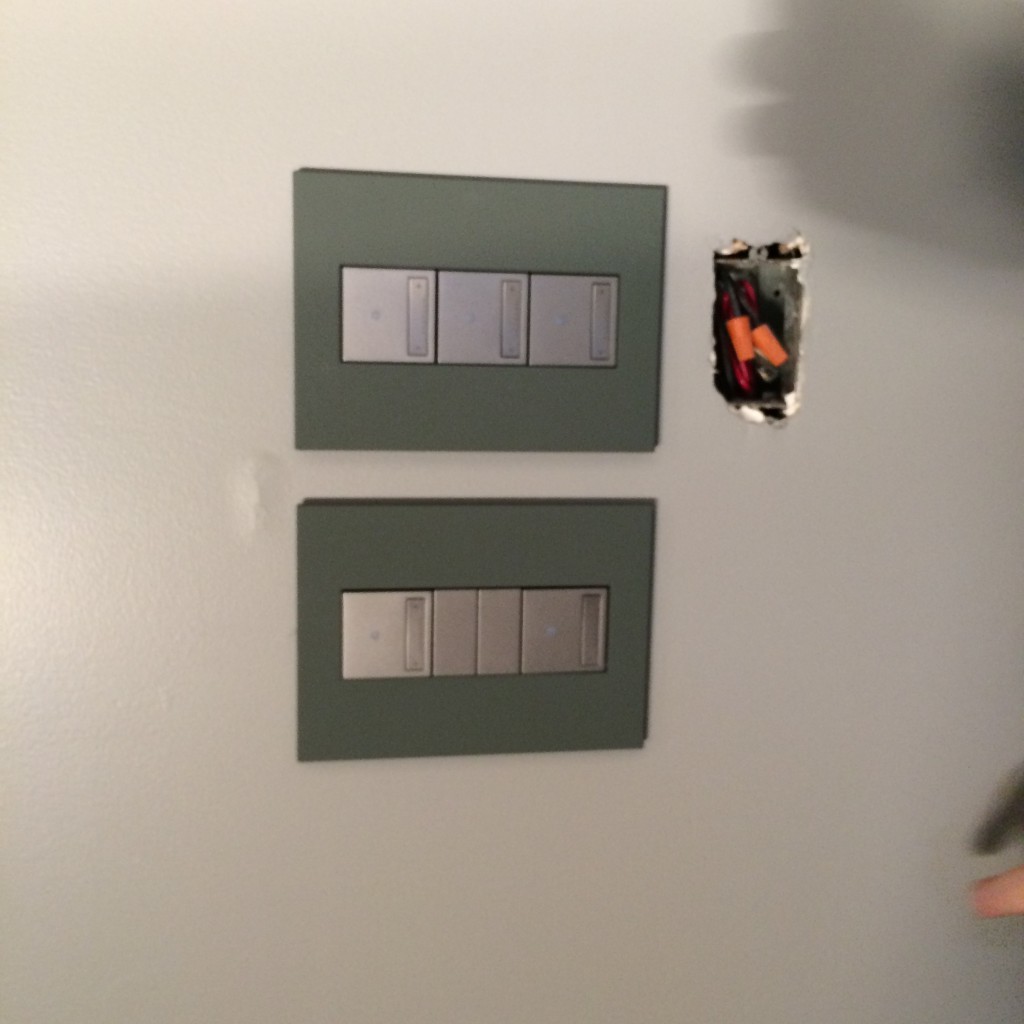
The electrician also installed the new spotlights and light switches, they look sick!!
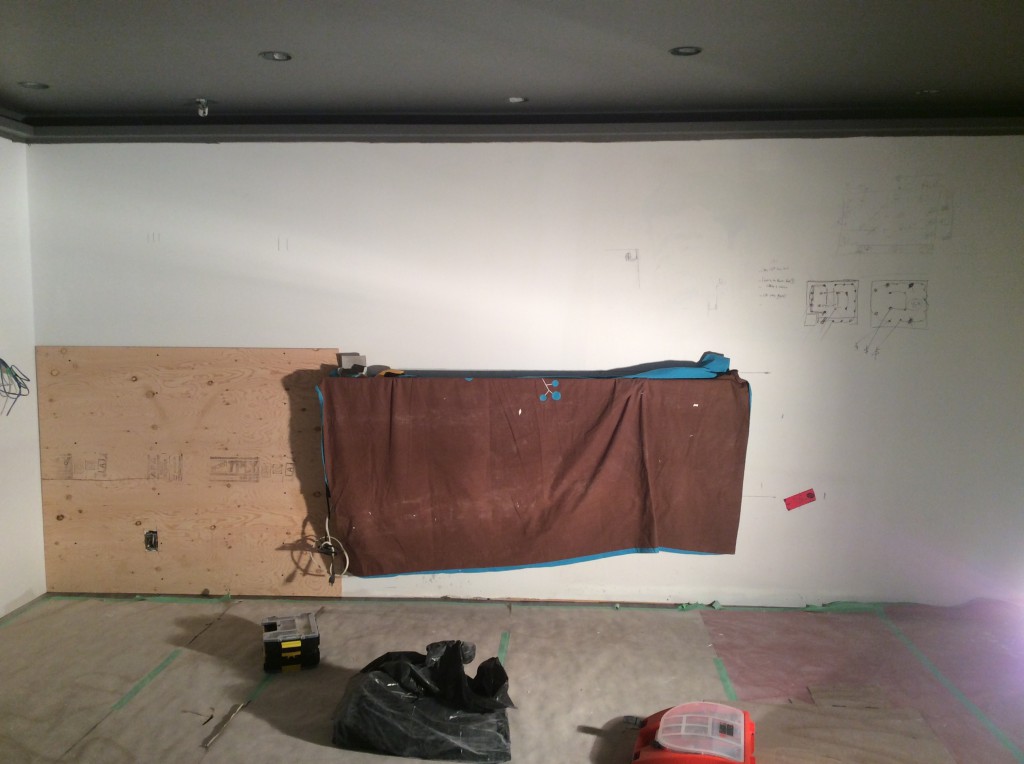
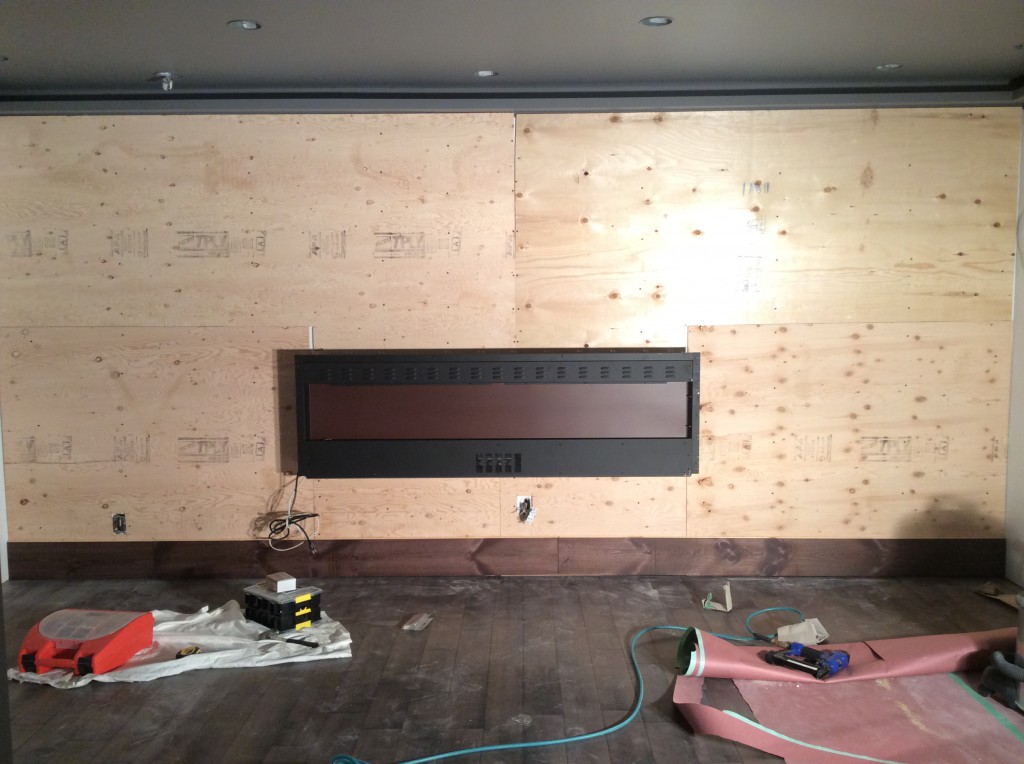
I also decided to add some plywood to the other wall around the electric fireplace. They will serve as a support for the finished wood that you will see later on, and will help support the wall mounted guitar hangers. Yep, I’ll be hanging all my guitars on this wall… Maximizing space!!
The plywood is up, and starting the finished wood installation.
So I had this idea to make a time-lapse video of the installation process, and it actually turned out pretty nice. The entire thing took us 8 hours to finish, my wife helped me 🙂
Here’s the video, it’s nice and short, enjoy.
https://youtu.be/NWnDcs0r0Wk
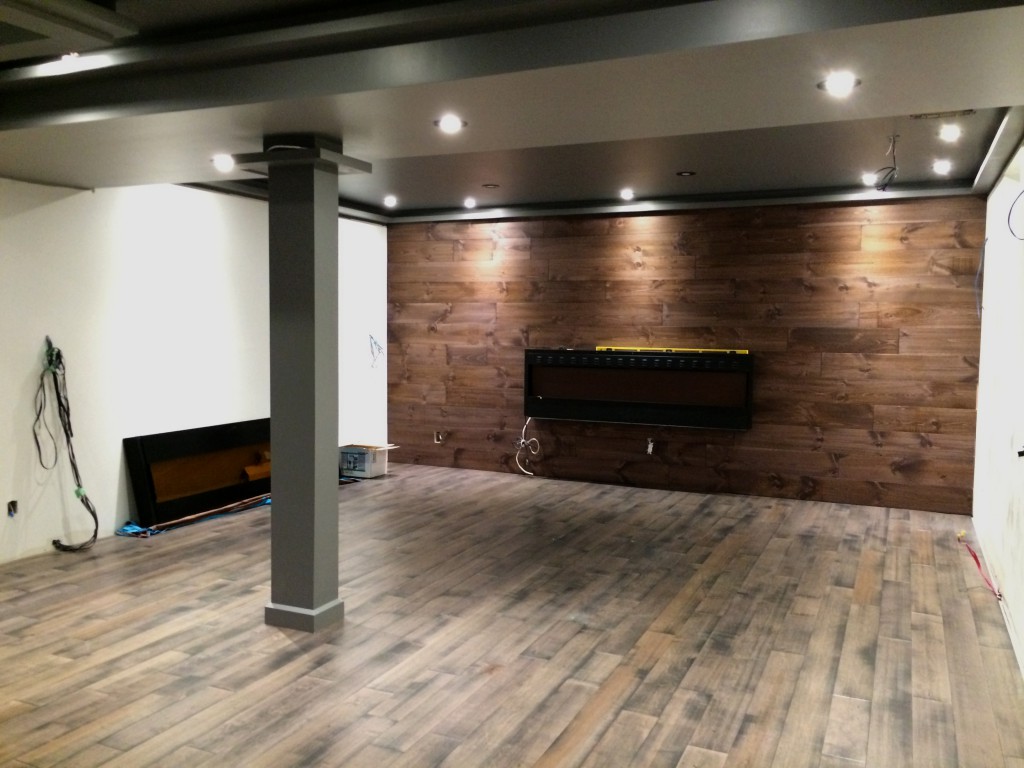
And, below you can see how the whole rooms looks like right now. There’s more to be done in the next couple of weeks, as you can see there are some wires hanging around and a couple of bare walls on the sides.
My babies will be hung (I mean guitars) either on the side of the fireplace or right above it. I’m not so sure yet if it’s a good idea to put them right above the fireplace, I’m concerned about the guitar wood going dry because of the heat. Any ideas?
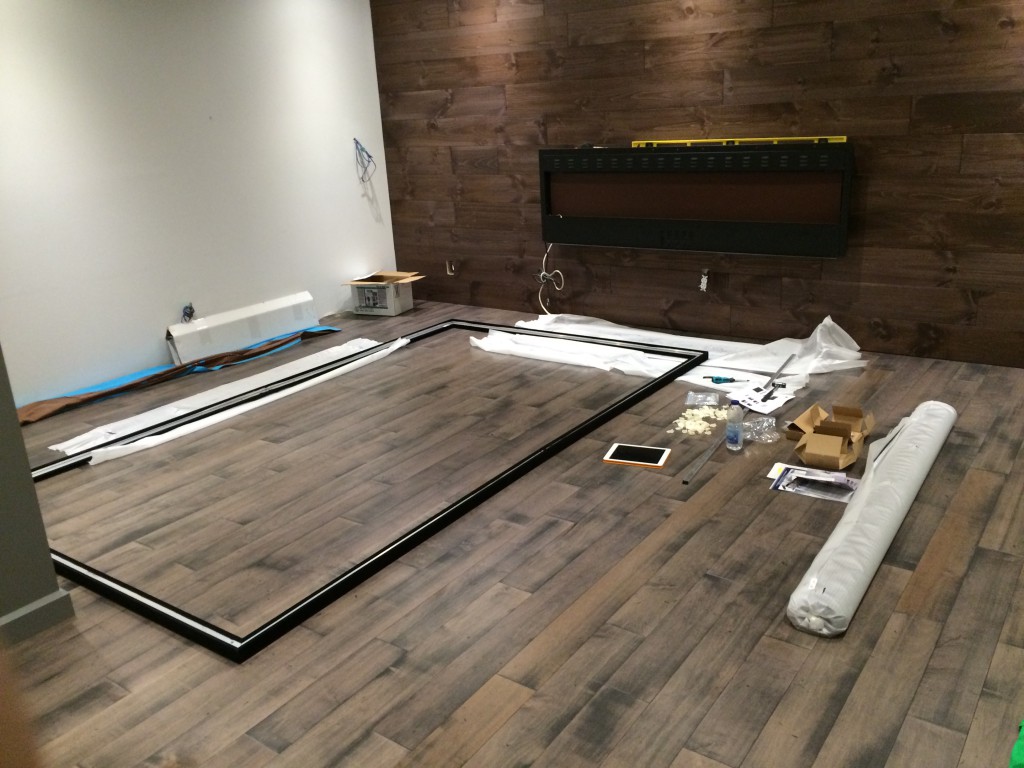
And finally, I started assembling a giant 135″ projector screen.
The room will also be my man-cave after all.
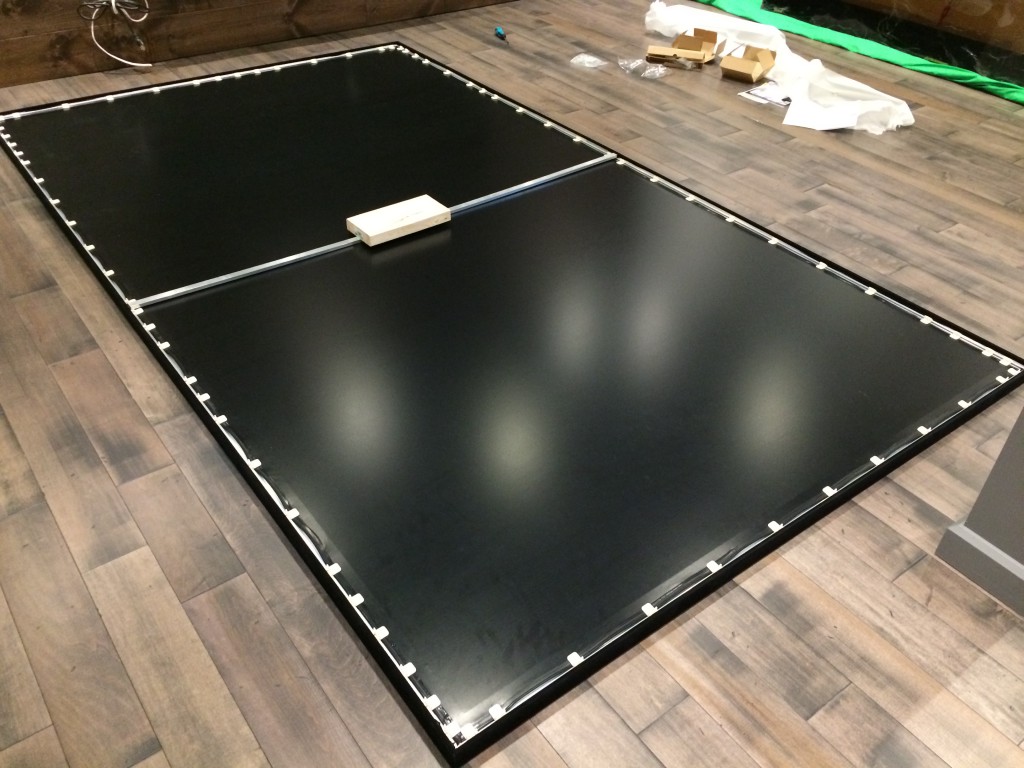
And here it is, it has to stay like that for a couple of days to cure and minimize wrinkles caused during packaging.
Well… That’s all for this one folks!
Stay tuned for the next update, I will probably post another one next week.
Cheers!
Continue to Basment Home Studio Update 3 >>
2 Replies to “Basement Home Studio Update 2”